Normalizing is the easiest way to increase the loudness of a recording where the computer automatically detects the highest peak in the recording and raises the level of the whole recording according to the peak.
When we normalize a wav file, the loudest peak reaches the top of the digital scale (0dBFS) or any dB limit we set.
The sound or the dynamics of the recording is not changed – it is just a mathematical process, where each of the part of the recording is increased in level proportionately, so that the peak most reaches 0dBFS while the levels within the recording are kept in the same ratio as the original recording.
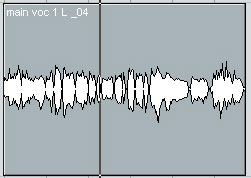
Before and after: What normalizing looks like
A little bit about wav forms as they appear on the sequencer. The closer the white parts are to the top and/or bottom of the whole image, the louder the level at that point.
Images from Nuendo
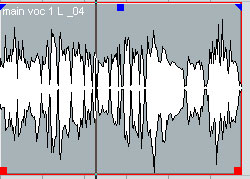
In the first picture, the white part of the wav do not extend to the top and bottom of the whole image as it does in the second picture. In the second picture, a part of the white region almost touches the bottom of the picture. That is the peak.
The wav file in the first picture, when normalized gave us the second picture with the peak touching the maximum, and the other parts of the wav increased in level proportionately.
To Normalize or Not
If we are recording with 24 bit, the peak levels need not be higher than -6db. Since 24 bit carries enough information, going for peak levels between -6db and -12 db are enough – we don't have to really take the peaks upto the maximum possible (0dBFS).
Alternatives to normalizing? Compressors and equalizers if used in the track, will have output level controls which can be used to raise the peak level as we wish. Most often this kind of conscious control is useful than a plain normalization process.
How to normalize in Nuendo / Cubase
In most sequencers we can just right click on the wav file, select the Normalize option to normalize the selected wav track. For example, to Normalize in Reaper, 1) Right click on the item, 2) pick Item Properties and 3) use the normalize slider. Below is a detailed screenshot explanation on how to normalize using Steinberg's Cubase or Nuendo sequencers.
1. Wav files
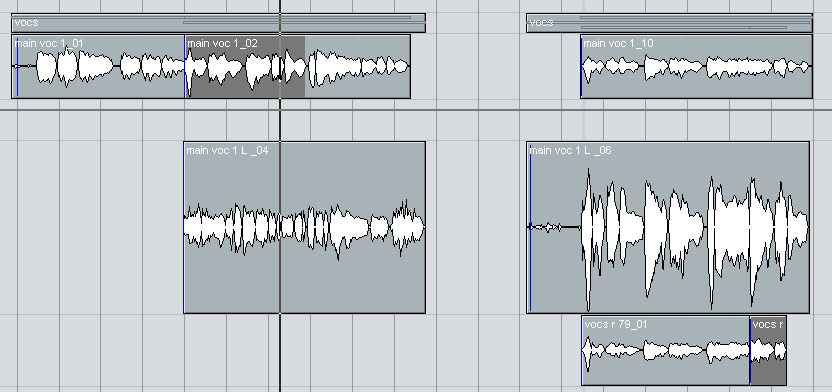
2. Click on the wav file to select the wav file we want to normalize

3. Right click on the wav file to see the options

4. Go to the process option to see available processes, choose normalize

5. On choosing normalize, the following box appears

You can change the maximum dB in this box. It could be -0.1db or -0.5db etc or just leave it as 0dB
6. Click 'process' button to normalize the wav file

The peaks of the wav file we normalized are now at the highest level possible. Remaining audio information in the wav file was also proportionately changed keeping the dynamics and sound of the recording the same, with just the level raised to the maximum possible without clipping.
Found this step by step instruction useful? Subscribe if you haven't already, to get more in your inbox. At the most, only one email a week, not more.
Leave A Comment